
Last updated November 2, 2026
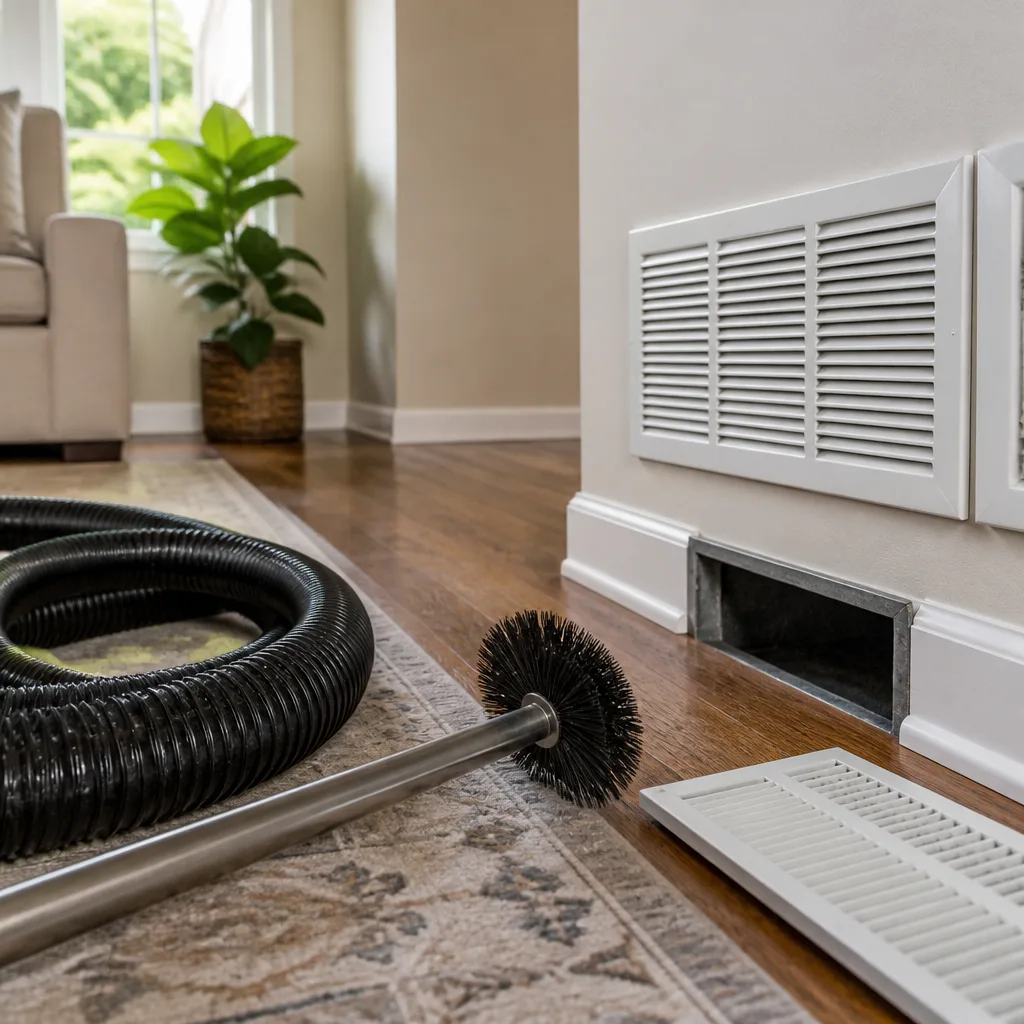 Whole-home duct cleaning
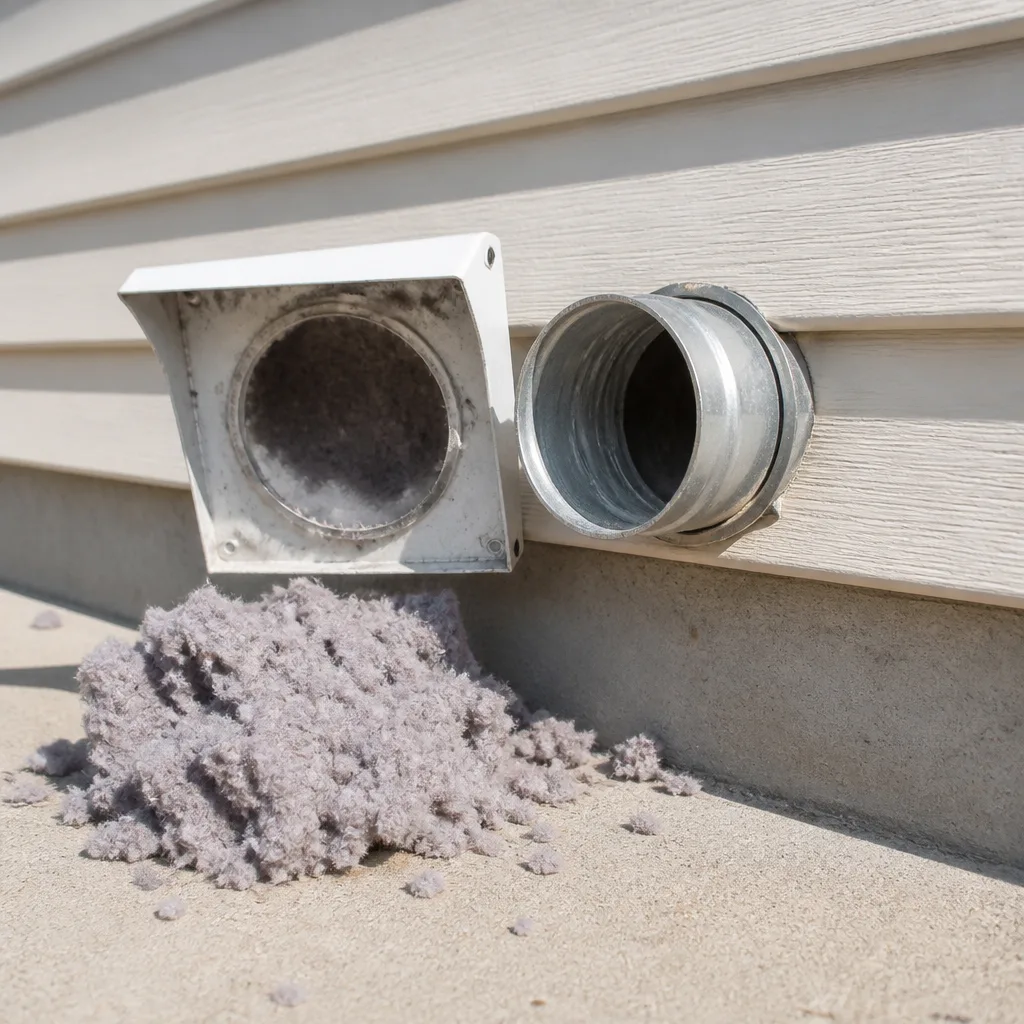 Dryer vent cleaning
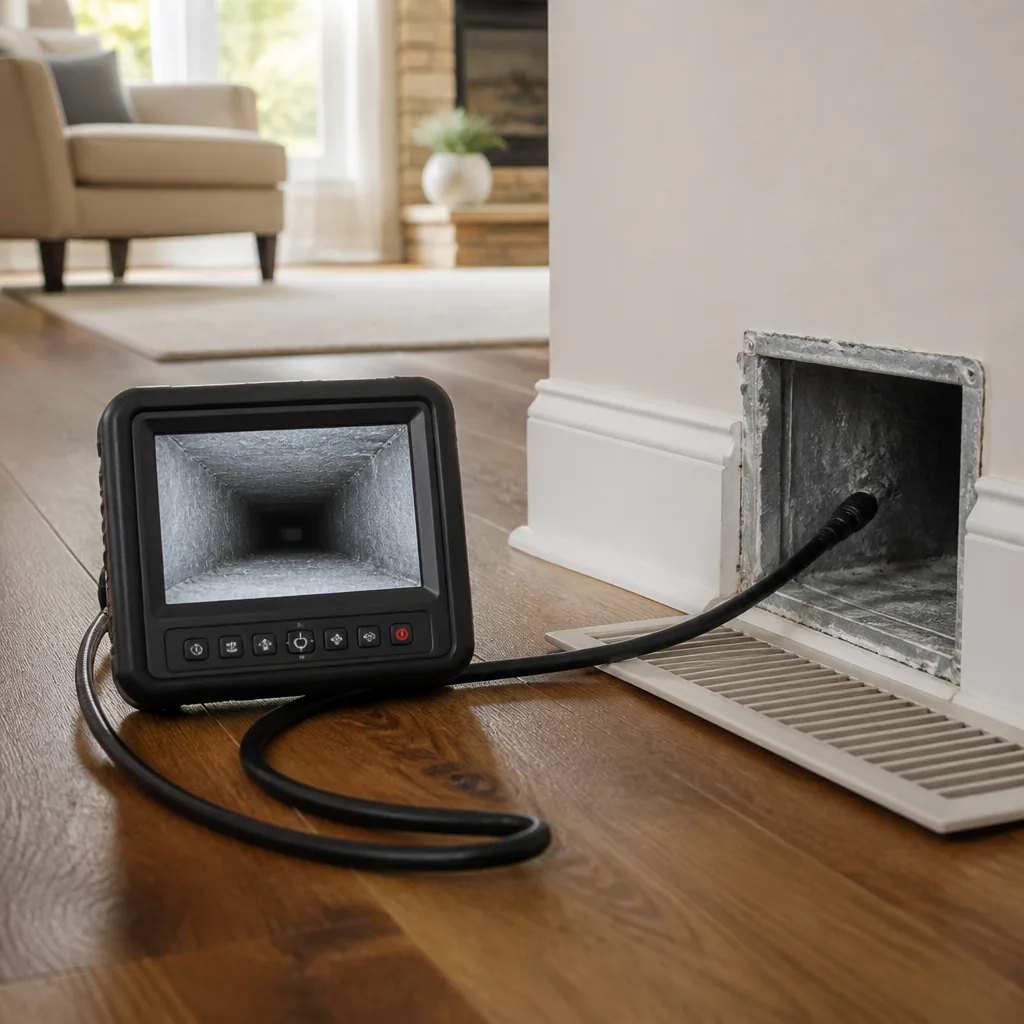 Camera inspection
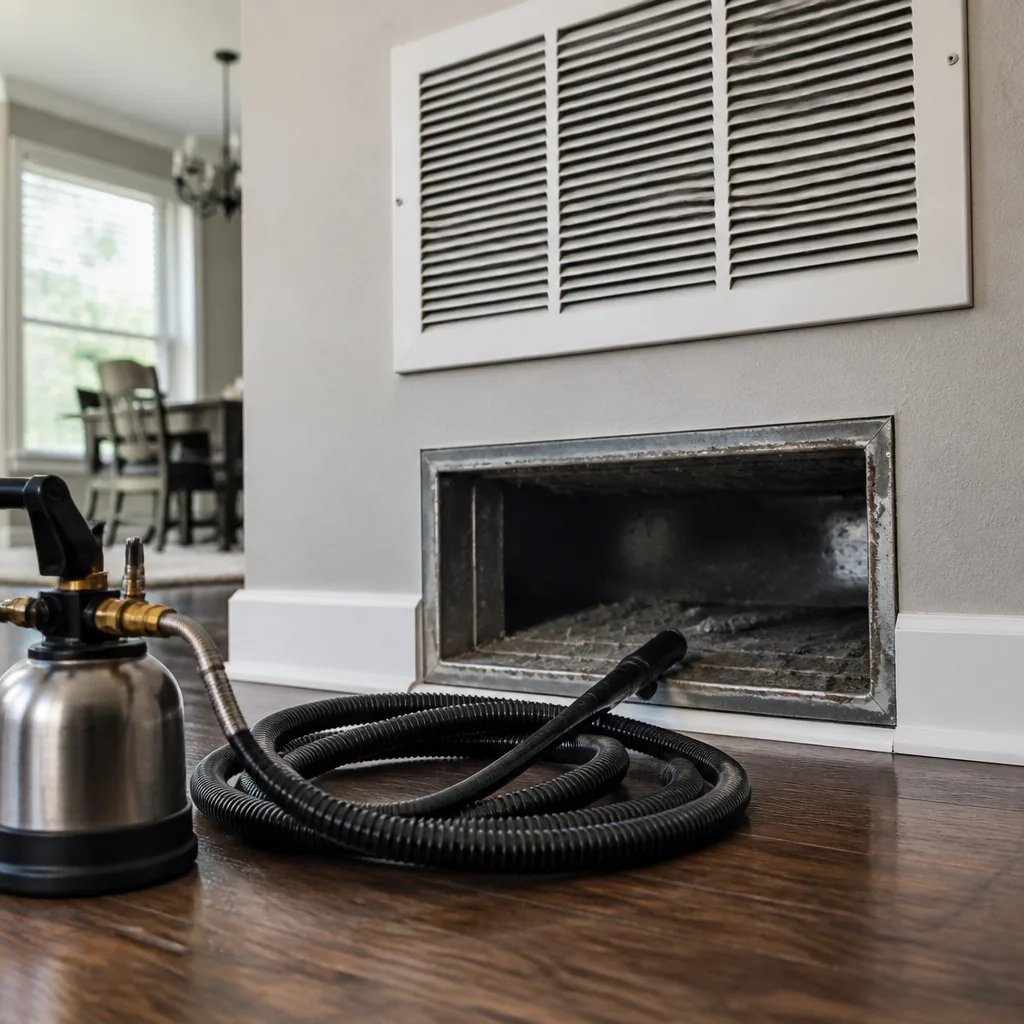 Sanitizing & deodorizing
Whole-system duct and dryer vent check with before-and-after photos - you see exactly what came out of your vents
That "$99 whole-house special" is a bait ad - the real number appears once they are in your hallway, or the "clean" is a shop-vac at the register. We photograph the inside of your ducts before and after instead.
Air Duct Cleaning Troubleshooting: Common Problems and How to Fix Them
If your ducts were cleaned 18 months ago and dust is already collecting on your registers again, the cleaning probably wasn’t the failure. An undiagnosed breach in the return side, a filter bypass gap, or a leaking air handler is recontaminating the system faster than any cleaning schedule can keep up with. In Mountain View, where homes run HVAC systems year-round against Silicon Valley’s dry, dusty summers and damp winter marine layers, this pattern shows up constantly. This guide teaches you to diagnose the five root causes that make duct cleaning fail, so you address the source instead of endlessly treating the symptom. By the end, you’ll know what a camera inspection should catch, how to test for leaks yourself, and when to repair before you clean.
Quick Answer
Most recurring air duct problems trace back to five root causes: duct leakage, filter bypass gaps, negative pressure imbalance, unlined return boxes pulling from wall cavities, and microbial regrowth from moisture. Cleaning alone fixes none of these permanently. In Mountain View, the fix sequence is: identify the contamination source first, repair any breaches or gaps, then clean the now-sealed system. A duct camera inspection before cleaning is the single most reliable way to avoid paying for a service that won’t last.
Styles & brands we work with
- Whole-home duct cleaning
- Dryer vent cleaning
- Camera inspection
- Sanitizing & deodorizing
Table of Contents
- The Five Root Causes That Make Duct Cleaning Fail
- Post-Cleaning Dust: Normal Redistribution or Active Recontamination?
- What a Camera Inspection Reveals That a Visual Check Never Will
- Testing for Duct Leakage Yourself Before You Spend Money
- Filter Bypass Gaps: The Silent Contamination Source
- Negative Pressure Imbalance and What It Does to Indoor Air
- Moisture, Mold, and Microbial Regrowth in Duct Systems
- Clean, Repair, or Replace: A Decision Tree for Duct Systems
The Five Root Causes That Make Duct Cleaning Fail
Duct cleaning has an image problem because the industry is full of cheap operators who run a vacuum wand through a handful of registers and call the job done. But even a proper cleaning won’t hold up if a structural problem is reintroducing contaminants. In our work across Mountain View, where housing stock ranges from 1950s ranch homes to recent three-story builds, we see a consistent pattern: callers describe dusty rooms, allergy flare-ups, or a persistent musty smell, and assume cleaning is the answer. Often, the real problem is one of these five:
- Duct leakage. Gaps at joints, disconnected sections, or rusted-through plenums pull unconditioned air from the crawlspace, attic, or garage into the return side. That air carries fiberglass dust, pest debris, and whatever else lives in those spaces. A cleaning will remove what’s inside the duct. The leak will refill it within months.
- Filter bypass gaps. If the filter doesn’t fit the filter rack snugly, a meaningful slice of air flows around it, not through it. The coil and blower then accumulate dirt, and that dirt gets distributed through the supply side continuously. No cleaning frequency fixes an oversized filter rack or a bent filter door.
- Negative pressure imbalance. Supply registers move more air than the return side can pull. The house goes negative, and the system starts drawing from wall cavities, outlet boxes, or rim joists through leaks that would otherwise be irrelevant. The result is drywall dust and insulation fibers appearing on supply registers in rooms with the door closed.
- Unlined return boxes pulling from wall cavities. Many older Mountain View homes use a stud bay or drywall chase as a return air path. If the sheet metal return box inside that cavity isn’t sealed or lined properly, the return draws dusty air from inside the wall itself. Cleaning the visible ducts does nothing because the contamination source is upstream of anything you can reach with a brush.
- Microbial regrowth from moisture. Sweating ducts in unconditioned space, a clogged condensate drain, or a crawlspace with standing water all feed biological growth inside the ducts. Cleaning removes the visible growth. Unless the moisture source is fixed, it comes back.
Understanding which of these is active in your home changes the entire job. It’s the difference between a professional air duct cleaning in Mountain View that holds up for five years and one that doesn’t survive the next allergy season. The rest of this guide walks through how to identify which root cause you’re dealing with, what a good inspection looks like, and the sequence that actually works.
Post-Cleaning Dust: Normal Redistribution or Active Recontamination?
Here’s a scenario that creates a lot of suspicion of the duct cleaning industry. You pay for a cleaning, the crew leaves, and two days later you see light dust on dark furniture near your supply registers. The instinct is that the job was botched or never really done. Sometimes that’s true. Often, it’s physics.
When a professional system agitates duct walls with compressed air and mechanical brushes, a small percentage of dislodged fine particulates remains suspended in the home’s air column. These settle over 24 to 72 hours. That’s especially visible in Mountain View homes built with single-pane windows and older weatherstripping, where everyday exterior dust keeps the indoor baseline of particulate matter slightly elevated anyway. The key question is whether the dust is a one-time event or a pattern.
Post-cleaning redistribution has these characteristics:
- It appears within roughly three days of the service.
- It’s heaviest near supply registers but doesn’t concentrate on a single room.
- It tapers off and stops appearing after that initial window.
- It looks like normal household dust, not like insulation fibers, drywall grit, or visible debris particles.
Active recontamination looks different:
- Dust keeps appearing weeks and months after the cleaning, at a consistent rate.
- It concentrates in specific rooms, usually the ones farthest from the air handler or nearest to the return.
- It contains recognizable particles: pink or yellow fiberglass strands, drywall dust, wood shavings from the attic, or pest droppings.
- It’s accompanied by specific smells, like the musty funk of a crawlspace or the papery smell of attic insulation.
The distinction matters because the two situations call for different responses. One-time dust after cleaning means the service did its job and the suspension settled. Ongoing dust means something is feeding the system, and the right next step is a duct inspection focused on repair, not another cleaning. In our experience in Mountain View, homes built before 1980 with original galvanized ductwork are the likeliest to show active recontamination, because joint failure and separated sections are common in that era.
What a Camera Inspection Reveals That a Visual Check Never Will
A register-side visual check involves looking into a vent with a flashlight or a phone camera. It tells you about the first 12 to 18 inches of a duct run. A real duct inspection pushes a high-resolution camera on a flexible push rod through the plenums and supply and return runs. This is not a gimmick. It’s the only way to see what is actually inside a duct system that can extend 40, 60, or 100 linear feet through attics and crawlspaces, and it routinely reveals conditions that visual checks cannot.
- Disconnected or separated joints. Duct sections pull apart over time as the house settles and the metal expands and contracts with temperature swings. A disconnected supply run dumps conditioned air into the attic and pulls attic air back in during the off cycle. That’s not visible from a register. On camera, it’s unmistakable.
- Blown-out duct insulation. Flex duct with a torn outer jacket lets the inner liner sag and fill with loose fiberglass. The register looks fine. The camera shows a duct that has become a fiberglass reservoir.
- Standing water or moisture staining. A visual check catches wetness only if it reaches the register boot. The camera finds pooling in low spots of flex duct or in the plenum where the condensate line has backed up.
- Pest activity. Rodent tunnels, droppings, and nesting material inside duct runs. This is usually in crawlspace-mounted supply runs. You will never see it from the register. You will smell it, though.
- Construction debris inside the system. During original construction or a remodel, drywall scraps, sawdust, and even soda cans end up inside ducts. A Mountain View remodel in an older neighborhood is well-served by a camera inspection before and after the work. We find what the framing crew left behind.
- Filter bypass evidence. Once the camera passes the filter rack to the coil side, dust buildup on the coil’s face and the blower wheel tells you air has been bypassing the filter. That’s a diagnostic finding with a direct repair route.
If a duct cleaning company hasn’t offered a camera inspection before or during the job, ask for one. It’s the difference between cleaning and confirming that the system is actually clean and intact. We use camera inspection on our air duct cleaning service in Mountain View because the camera answers the question the homeowner ultimately wants answered: is this system going to stay clean, or is something still wrong inside it?
Testing for Duct Leakage Yourself Before You Spend Money
You can do a meaningful preliminary leak test on your duct system without specialized equipment. It won’t give you a CFM leakage number the way a professional duct blaster test would, but it can reveal whether the return side is pulling from places it shouldn’t be, and which rooms or runs are behaving abnormally. In Mountain View’s climate, where a typical system runs many hours a day nearly year-round, these tests are best run when the system has been off for at least 15 minutes so pressure and thermal effects settle.
- Close every door and window in the house. You’re creating a sealed system to observe pressure behavior.
- Turn the fan to ON at the thermostat, not AUTO. This runs the blower continuously, which builds pressure differentials you can measure.
- Wait three minutes. The system needs time to reach its steady-state pressure profile.
- Hold a single-ply tissue or a thin strip of paper near the gap under each interior door. Watch which way it moves when the door is closed. If the tissue blows outward from a closed room, that room is under positive pressure, which is normal and expected for a supply-heavy room. If it pulls inward, under the door toward the room, that room is negative. Negative pressure in a room with a supply register means the return side is underperforming for that zone, or the door is nearly sealed and the run is unbalanced.
- Open a supply register and hold the tissue right at the register opening. It should push the tissue firmly away. Then close that register and move to the next one. A register with weak or inconsistent airflow compared to its siblings suggests a disconnected or crushed run.
- Find the return grille. Hold the tissue against it. It should hold the tissue firmly against the grille. If the pull is weak, the return is undersized or the filter is heavily loaded. If it holds, go to the next step.
- Check for attic or crawlspace smells at the return. Have someone note whether any attic or crawlspace odor intensifies when the system runs at full fan. That smell is usually a return-side leak indicator.
- Run the system, then go into the attic or crawlspace with a flashlight and look for duct joints that are visibly separated or dust patterns that suggest air movement across a joint. Attic dust that’s been blown away from a seam, or a seam with a clean halo around it, is a leak. The air is passing through there.
This sequence doesn’t require spending a dime. If it turns up a clear issue, a camera inspection and pressure-testing session confirm what you found. If it doesn’t, and you still have problems, that’s also information: the issue is likely not leakage, but something like filter bypass or moisture, which the next two sections cover.
Filter Bypass Gaps: The Silent Contamination Source
Filter bypass is probably the most common and least diagnosed contamination problem we see in Mountain View homes, especially those where the filter lives in a basic stamped filter rack on the air handler or furnace. The principle is simple. If the filter doesn’t seal, the blower pulls air through the path of least resistance. A filter restricts airflow by design, so if there’s a gap around its perimeter, a meaningful portion of the airstream simply goes around it. That unfiltered air carries whatever dust, pollen, and debris is circulating in the equipment room or garage, right into the blower and coil and then out to your registers.
Common bypass points:
- A filter rack that is slightly oversized for the filter (often after someone switched filter sizes).
- A bent or warped filter door or filter clip that doesn’t compress.
- A filter installed backward, so the frame doesn’t seat.
- A filter crushed from being forced in at an angle.
- A missing filter altogether, which happens more than most homeowners want to believe.
The diagnostic is straightforward. With the system off, open the filter access and run your fingers around the seating area. Feel for gaps. Push the filter gently against its seat. If it drops in with daylight around any edge, you have a bypass. On camera, the confirmation is dust buildup on the coil face and the blower wheel, which is exactly what the filter is supposed to prevent. The fix depends on the rack: sometimes a filter of the correct dimension and a new filter door solves it. Sometimes the rack itself needs to be repaired or replaced, which falls under our air duct repair service in Mountain View.
One relevant note for Mountain View. Many homes in this area have air handlers installed in a closet or an interior mechanical room rather than a garage or attic. When the closet door is closed while the system runs, and the return path is through louvered doors or a jump duct, a filter bypass becomes especially consequential, because the air that bypasses the filter often comes from immediately around the air handler, where dust collects from the closet’s own dead air. In a poorly sealed closet, that’s dust from behind the Sheetrock and inside the wall framing.
Negative Pressure Imbalance and What It Does to Indoor Air
When supply airflow exceeds return airflow, the house goes negative relative to outside. That negative pressure acts like a constant, invisible draw on every unsealed gap in the building envelope: plumbing penetrations, recessed light cans, door and window trim, baseboards, and attic hatches all become passive intake points. A house under persistent negative pressure pulls from the wall cavities and the attic, and that dirt enters the return stream, gets blown through the coil, and exits through the supply registers. The result is dust appearing in rooms even when the duct system itself has been thoroughly cleaned and the filter is sealing perfectly.
Signs of negative pressure imbalance:
- Dust concentrated on supply registers and the ceiling within a foot or two of them.
- Dust that looks like drywall dust or fiberglass insulation rather than typical household dust.
- Doors that feel heavy or that drift closed on their own when the system is running.
- Weak return airflow measured at the return grille compared to strong supply airflow at the registers.
- A persistent stale smell in the house that clears only when windows are open.
In Mountain View specifically, the prevalence of exhaust systems matters. A range hood on high, a bathroom fan, or a dryer cycle all create negative pressure instantly. If the HVAC return is already marginal, these appliances tip the house further negative, and the infiltration rate jumps. Homes near Highway 85 or El Camino Real face more airborne particulate in the ambient outside air than homes in the quieter parts of the city, and negative pressure actively brings that outdoor air in. Balancing the system usually means adjusting damper positions on supply runs or adding return capacity to high-resistance zones. That’s a repair-and-recommissioning job, not a cleaning job, and a good duct repair specialist will test pressures before and after to confirm the fix.
Moisture, Mold, and Microbial Regrowth in Duct Systems
If you’ve cleaned your ducts and a musty smell returned within a season, the question is not whether the cleaning worked. The question is where the moisture is coming from. Organic growth inside duct systems requires three conditions: a food source (typically household dust that’s accumulated in the duct), a spore source (from outdoors or from a preexisting indoor source), and sustained moisture. Cleaning removes the food. Nothing in a cleaning can address the moisture. Until the moisture source is corrected, any regrowth cycle will repeat.
The typical moisture sources in Mountain View duct systems:
- Clogged or slow condensate drain. The evaporator coil produces water every cooling cycle. If the drain line is partially blocked, water backs up into the drain pan, overflows, and soaks into the surrounding plenum and duct insulation. In Mountain View’s shoulder seasons, systems cycle less frequently, so the water doesn’t evaporate between cycles. It sits, and the dark interior of the plenum becomes a growth chamber.
- Sweating ducts in unconditioned attics. Duct insulation with gaps, compressed sections, or vapor barrier tears allows warm attic air to contact the cold duct surface, saturating the air at that spot and producing condensation. Over a season, that condensation soaks into fiberglass duct liners.
- Crawlspace humidity. Older Mountain View homes on crawlspace foundations often have supply ducts running through the crawlspace. Damp soil, standing water, or a missing vapor barrier raises the humidity around the ducts. Even minor leaks then pull that damp crawlspace air into the return side.
- A disconnected bath fan duct. If a bathroom exhaust fan terminates into the attic instead of through the roof (common in older construction), shower moisture goes into the attic, raises the dew point, and feeds condensation on nearby ducting.
When growth is confirmed, the sequence is: identify and correct the moisture source, replace any saturated insulation or liner material, then clean the now-dry system. Cleaning without addressing moisture is wasted money. In our experience across Mountain View, the fix is often modest: a drain pan treatment, a crawlspace vapor barrier patch, or a duct insulation repair. But if it’s missed, every subsequent cleaning is a temporary cosmetic fix.
Clean, Repair, or Replace: A Decision Tree for Duct Systems
Most homeowners arrive at the question of duct service under one of two conditions: they’ve noticed visible dust or suspicious smells, or they just moved into a house and want a fresh start. The answer isn’t always the same. The age, material, and condition of the duct system should determine whether you clean, repair first, or replace.
Here is a decision framework that works for most Mountain View homes:
- Under 20 years old, sheet metal or proper flex, no visible damage, no unusual smell. Clean. A professional cleaning with camera inspection is a reasonable service at this age and condition. No repair is indicated.
- Under 20 years old, evidence of filter bypass, and dust on the coil. Repair the filter rack or replace a damaged filter door first, then clean. Cleaning alone will not solve the repeat contamination.
- Under 20 years old, moisture present, but duct material intact. Fix the moisture source, replace any saturated insulation or liner material, then clean. Do not clean first. The moisture will reintroduce the problem.
- 20 to 40 years old, galvanized sheet metal with some surface rust, a few pinholes, but largely intact and no performance complaints. Repair and clean. Patch or seal minor issues, then clean the restored system. This is a cost-effective middle path.
- Any age, disconnected runs, collapsed flex, rusted-through sections, or pervasive mold inside the duct lining. Replace the affected sections, not repair. At this point, repair dollars are better spent on new ductwork. Then clean the remaining system to remove construction dust and fine particulate.
- 40+ years old, original ducts, active leakage, and fiberglass-lined plenums showing deterioration. Strong candidate for replacement. You can clean a 40-year-old system, but the cumulative leakage, liner degradation, and sealing issues often exceed any practical repair. A full redesign with modern flex and sealed boots is usually the better long-term spend.
Each step on this tree is a diagnostic question before it’s a spending decision. A camera inspection answers the condition question. A pressure test answers the leakage question. A moisture assessment answers the growth question. Once you have the answer, the right path is usually clear, and it avoids the most common money-wasting scenario: a cleaning performed on a system that needed a repair first.
Common Mistakes to Avoid
- Paying for a cleaning before identifying a leak. If a return-side breach is pulling crawlspace air, cleaning alone is like repainting over a water stain. Identify the leak, seal it, then clean once.
- Assuming a cheap quote means a cheaper job. A $99 duct-cleaning special often means a quick register-level vacuum pass with a consumer shop vac, no agitation, no camera, and no real containment. In Mountain View, you’ll pay for a real cleaning or you’ll pay for the cheap one and still have dirty ducts.
- Replacing the filter without checking the rack. A new filter in a bypassing rack is just a more expensive way to bypass. Check the seating, the door, and the seal.
- Ignoring a persistent musty smell after cleaning. That smell means moisture is present somewhere. Treating it with a spray or a scented product doesn’t address the source. Find the moisture.
- Holding a tissue test once and trusting it. Pressure behavior changes with fan speed, filter load, damper position, and whether doors are open or closed. Run the test in several configurations before concluding anything.
- Closing supply registers in unused rooms to “save energy.” This increases static pressure in the system, can make existing leaks worse, and unbalances the return. In most Mountain View homes, it does more harm than good.
- Treating a cleaning as a one-time permanent fix. A properly cleaned and sealed system should not need another full cleaning for several years. But if the underlying conditions are unaddressed, no cleaning frequency is fast enough to keep up.
See the difference
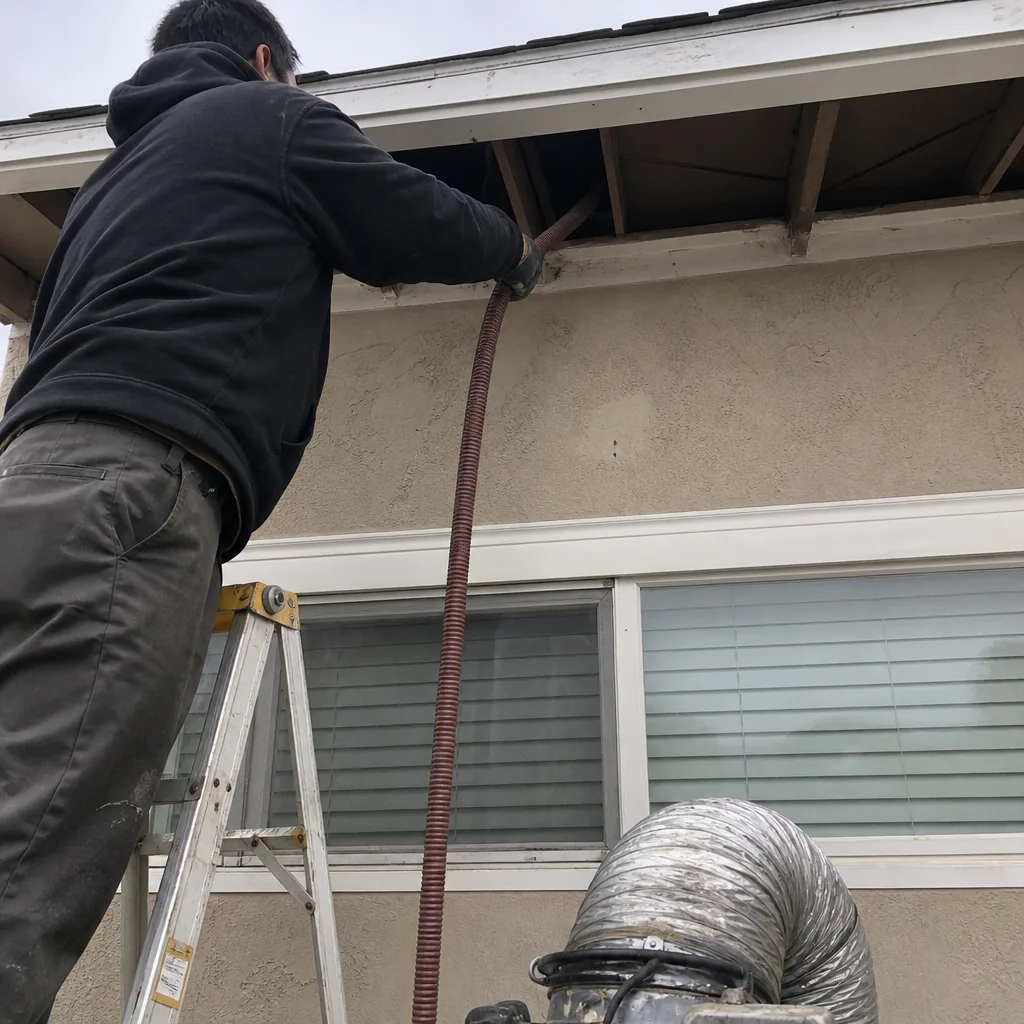 Before
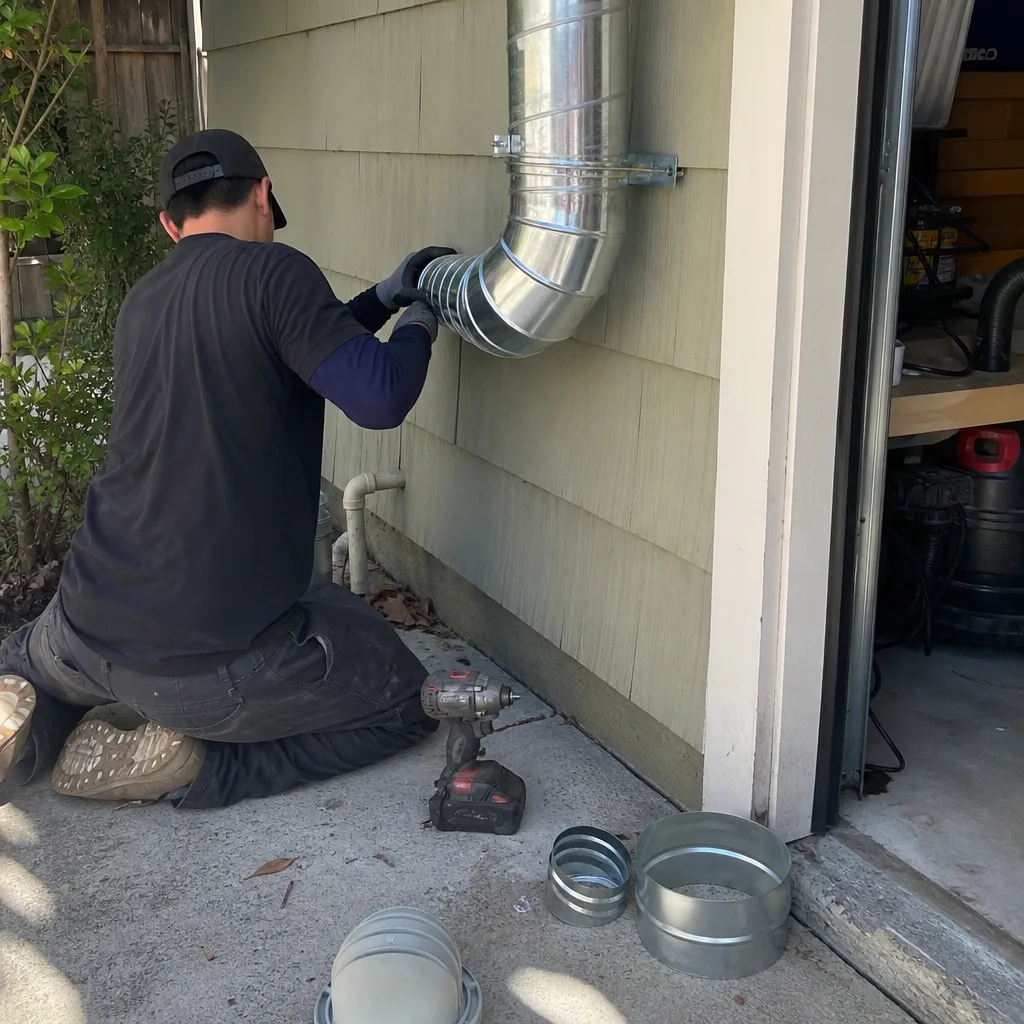 After
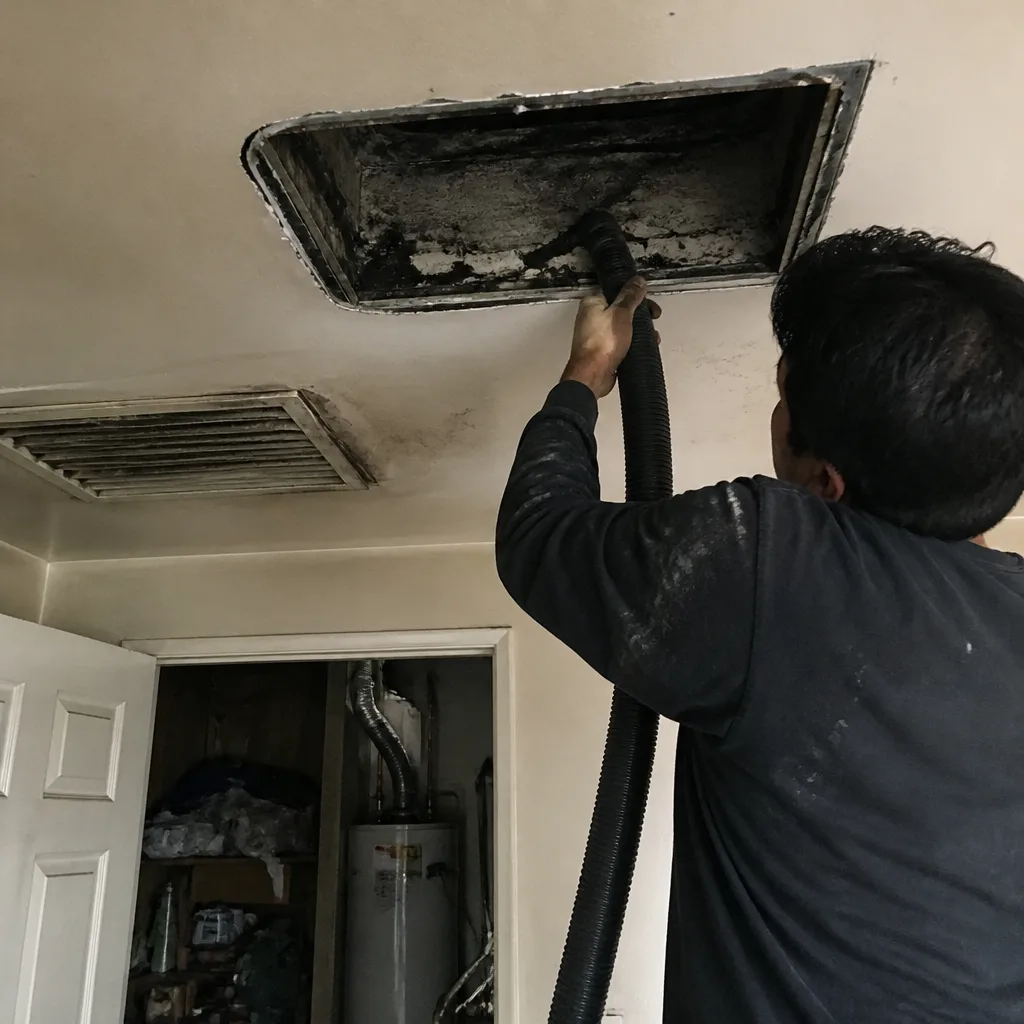 Before
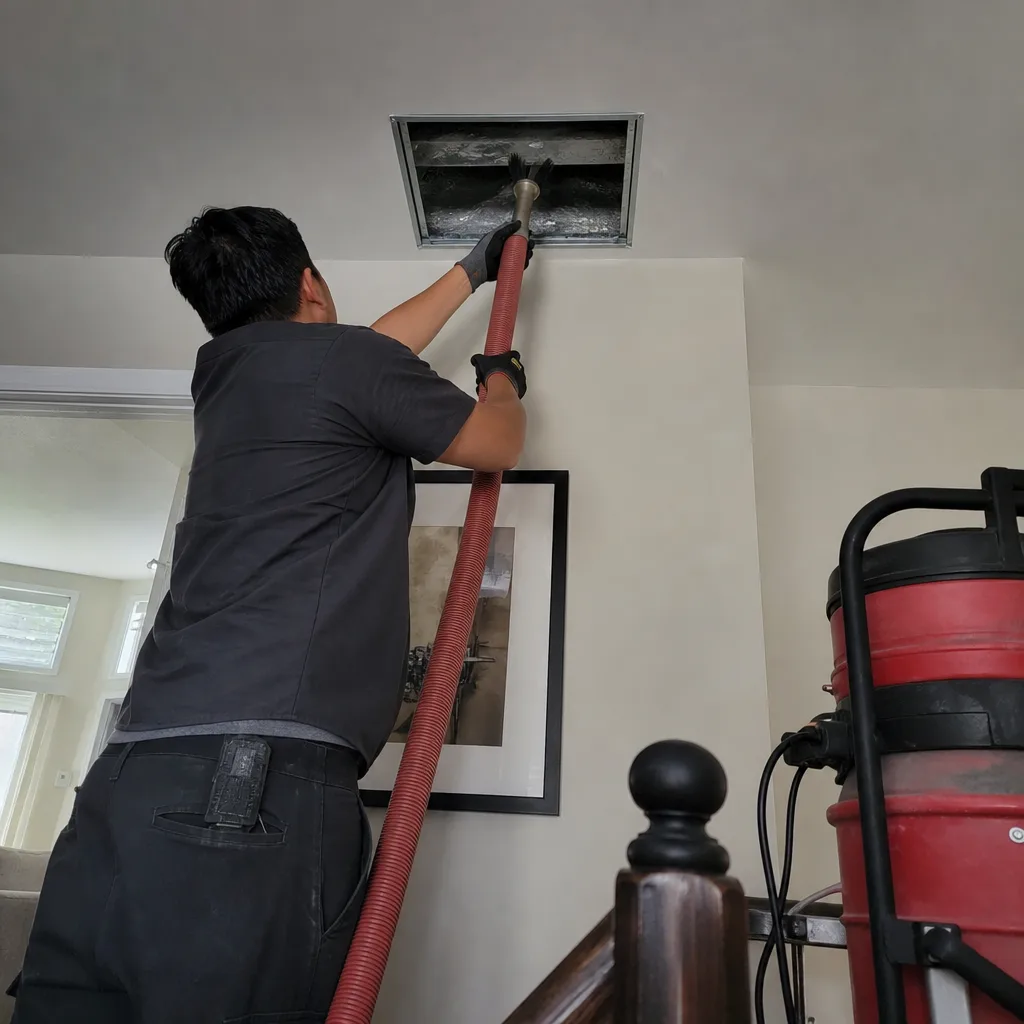 After
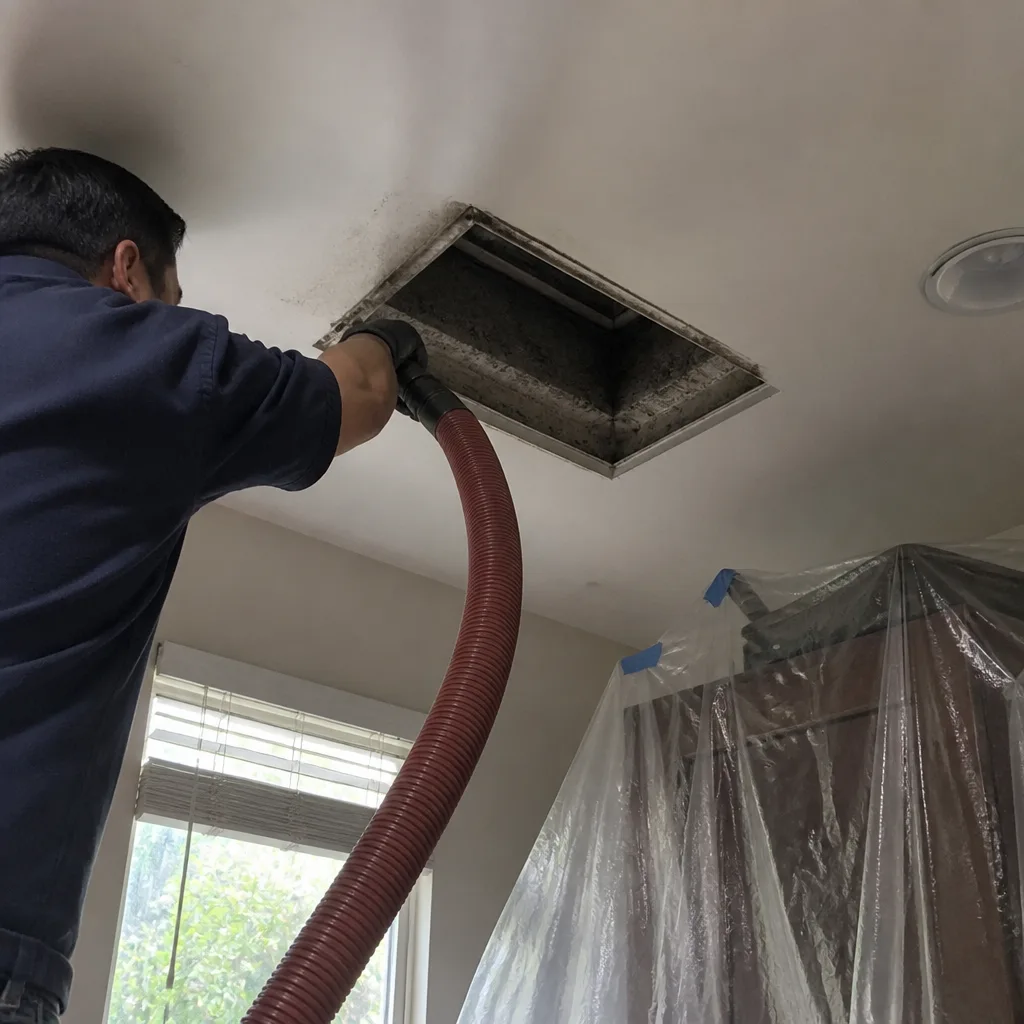 Before
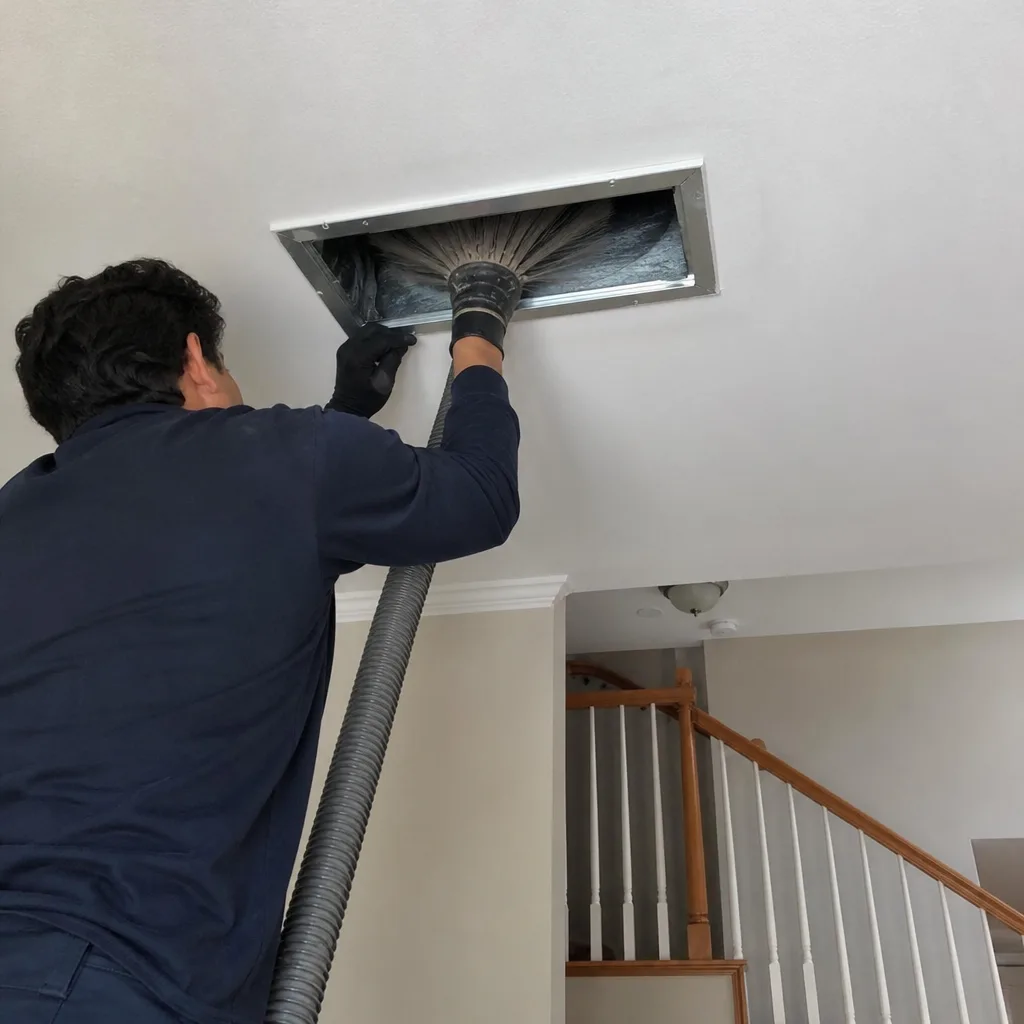 After
When to Call a Professional
If you’ve noticed dust that keeps reappearing after cleaning, a persistent smell from the registers, visible moisture in or around the duct system, or rooms that are consistently dustier than the rest of the house, those are signals that something structural is happening inside the system, not just that it’s dirty. The diagnostic sequence we recommend is simple: camera inspection first, then a repair-or-clean decision based on what the camera finds. If you’re in Mountain View, Duct Cleaning Mountain View offers free estimates for both cleaning and repair. Call (866) 528-3938 and we’ll bring a camera, show you what’s actually inside your ducts, and give you a flat price for the work, whether that’s a cleaning, a repair, or both. No per-vent pricing, no upselling once we’re on site. You’ll know the number before the work starts.
Frequently Asked Questions
The deciding factor is whether contaminants are being introduced by the system or just accumulated in it. Dust that appears near supply registers and keeps returning after cleaning points to a leak or bypass; that’s a repair. Dust that’s static inside the ducts with no ongoing outside source is a cleaning candidate. In Mountain View, a camera inspection settles the question definitively, usually in under an hour.
Mountain View’s dry summers, construction activity, and proximity to major roadways like 101 and 85 keep ambient particulate high, and older housing stock with unsealed duct joints allows that particulate to enter the system. If your previous home was newer construction with sealed ducts and a modern filter rack, the difference is often the duct system, not the city.
You can clean the first few inches of a register boot with a household vacuum. That’s it. Reaching the entire duct system requires professional equipment that agitates the duct walls under negative pressure while containing the dislodged contaminants. Homeowner-grade tools can actually make the situation worse by loosening material that then redistributes through the house. For any system beyond a quick register wipe, call a professional.
Before-and-after photos from a duct camera are the standard of proof. Any credible company in Mountain View should be able to show you the inside of your ducts on screen, live or recorded. If a company can’t show you the inside of your ducts before and after, you can’t verify the job was real. Ask for before-and-after camera documentation as a condition of the service.
Yes, but the mechanism matters. A duct system with a few years of light dust accumulation on the walls contributes little to airborne particulate. A system with a return-side leak, a filter bypass, or microbial growth in the plenum actively injects contaminants into the living space. The air quality problem is almost always the active source, not the passive dust. That’s why the diagnostic approach in this guide matters.
At 30 years old, most galvanized duct systems in Mountain View homes show joint separation, surface rust, and some degree of liner breakdown. If the system is otherwise performing well, targeted repair and sealing is often the right $400 to $1,200 spend. If the damage is pervasive, an inspector can tell you whether replacement is the better long-term value. The camera doesn’t lie, and it’s the fastest way to answer this question for your specific house.
The Bottom Line
Duct cleaning is a legitimate service when it’s matched to the right problem. The problem in this industry is not the cleaning equipment. It’s the diagnostic skip: too many companies sell cleaning because it’s simple to quote, and too few take the five minutes to figure out whether cleaning is even the right fix. Leaks, bypass gaps, pressure imbalances, unsealed return cavities, and moisture are the five reasons duct cleaning sometimes doesn’t hold. Identify which one is active in your home, address it, and the cleaning you pay for will actually last. Skip the diagnostic step, and you’ll be dusting around it for years.
Call (866) 528-3938 for a free duct inspection and flat-price estimate in Mountain View. We’ll bring a camera, show you what’s inside your system, and tell you honestly whether you need a cleaning, a repair, or both.
Written by the team at Duct Cleaning Mountain View, serving Mountain View since 2015.